We may not have the course you’re looking for. If you enquire or give us a call on 01344203999 and speak to our training experts, we may still be able to help with your training requirements.
Training Outcomes Within Your Budget!
We ensure quality, budget-alignment, and timely delivery by our expert instructors.

Adobe InDesign is a powerful designing tool widely used for creating visually stunning layouts and publications. One of the key elements that can significantly impact the overall design is the selection of fonts. If you are wondering How to Add Fonts to Adobe InDesign, there are several ways to do it, and this blog will explore all of them. This blog will walk you through the process of How to Add Fonts to Adobe InDesign, exploring its different methods and reputable sources for downloading fonts.
Table of Contents
1) Understanding font formats
2) How to Add Fonts to Adobe InDesign
3) Troubleshooting and tips for using and adding fonts in Adobe InDesign
4) Conclusion
Understanding font formats
Before diving into "How to Add Fonts to Adobe InDesign", it is essential to understand the various font formats and their compatibility with Adobe InDesign. The most common formats include TrueType (.ttf), OpenType (.otf), and PostScript Type 1 (.pfb, .pfm).
Each format has its characteristics that influence the flexibility of designs. You must familiarise yourself with these formats to ensure a smooth integration process. However, there is no need to worry since Adobe InDesign supports most font types. If you want to be sure about the font you are using, here's a list of supported formats.
a) TrueType (.ttf)
b) OpenType (.otf)
c) OpenType SVG
d) Type 1 (.pfb, .pfm)
e) Composite
f) Multiple master
g) Adobe fonts
Researching and selecting fonts
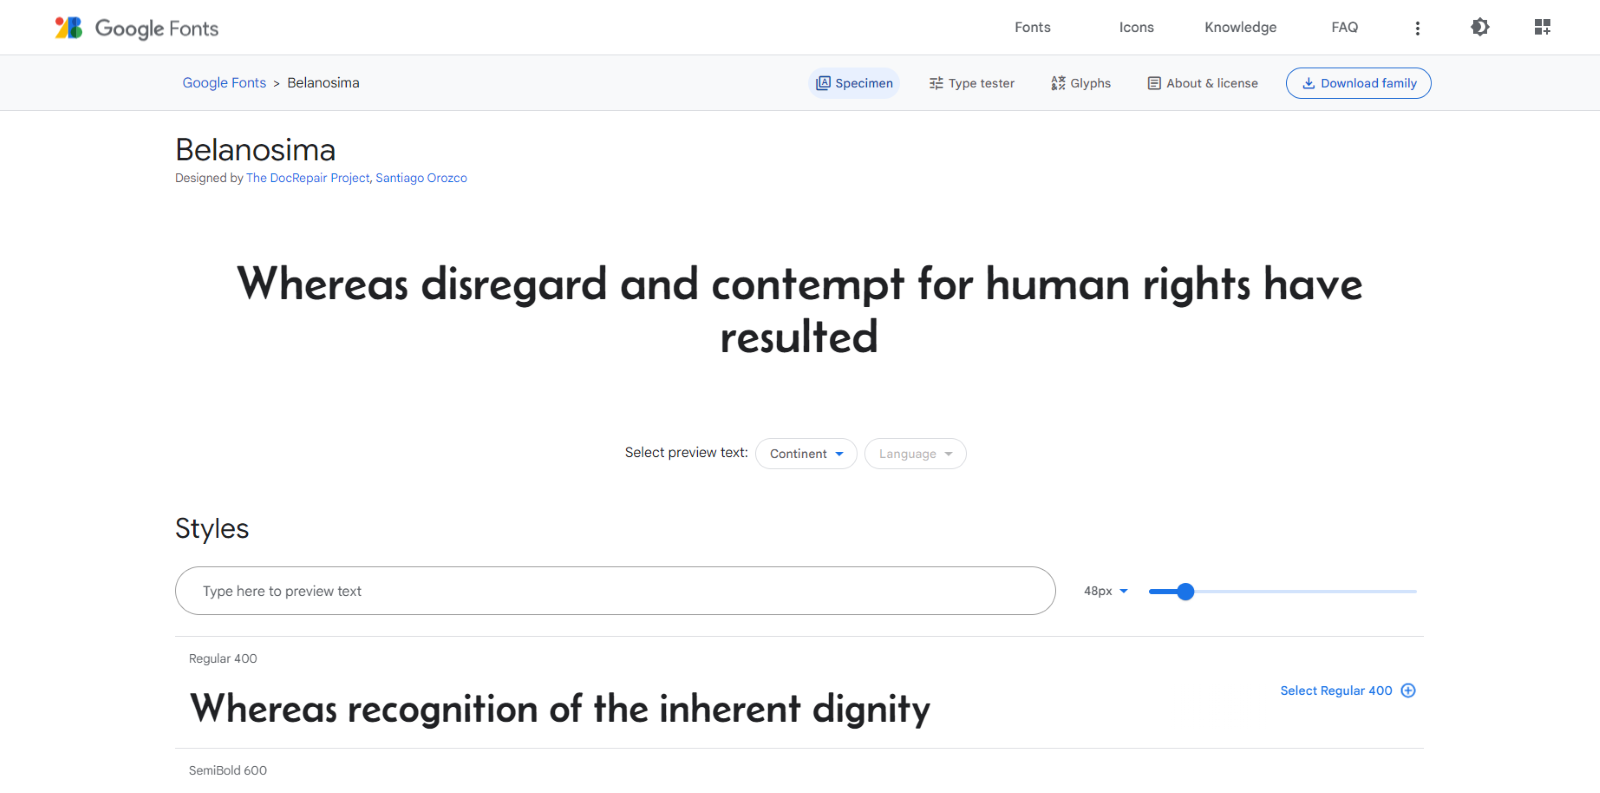
Choosing the right fonts for your design project is crucial. There are numerous reputable sources for downloading fonts, such as Adobe Fonts, Google Fonts, DaFont, and Font Squirrel. These platforms offer an extensive range of fonts for personal and commercial use. Please note that while many fonts are free on these platforms, there are fonts that you need to buy to use them.
When selecting fonts, consider factors like readability, appropriateness for the project, and licensing requirements. Take your time to explore different options and find fonts that align with your design vision.
How to Add Fonts to Adobe InDesign
Now that you have researched and selected the fonts you want to use, it's time to add them to Adobe InDesign. In this section, we will explore different methods for adding fonts and guide you through the process step by step. Let’s learn how to add a font to Adobe InDesign with the following methods:
Method 1: Installing fonts directly on your computer
The first method involves installing the fonts directly on your computer, making them available to all applications, including Adobe InDesign. Here's how you can do it:
Step 1: Download the font files
Follow the below steps to download the font files on your computer:
a) Visit your chosen font source, such as Adobe Fonts or another reputable font website.
b) Locate the desired font and download the font file(s) to your computer.
c) Font files are typically compressed in ZIP format. Extract the font files from the ZIP archive.

Step 2: Install fonts on Windows
If you use a Windows computer to run the Adobe InDesign, then follow the below steps:
a) On Windows, navigate to the extracted font files.
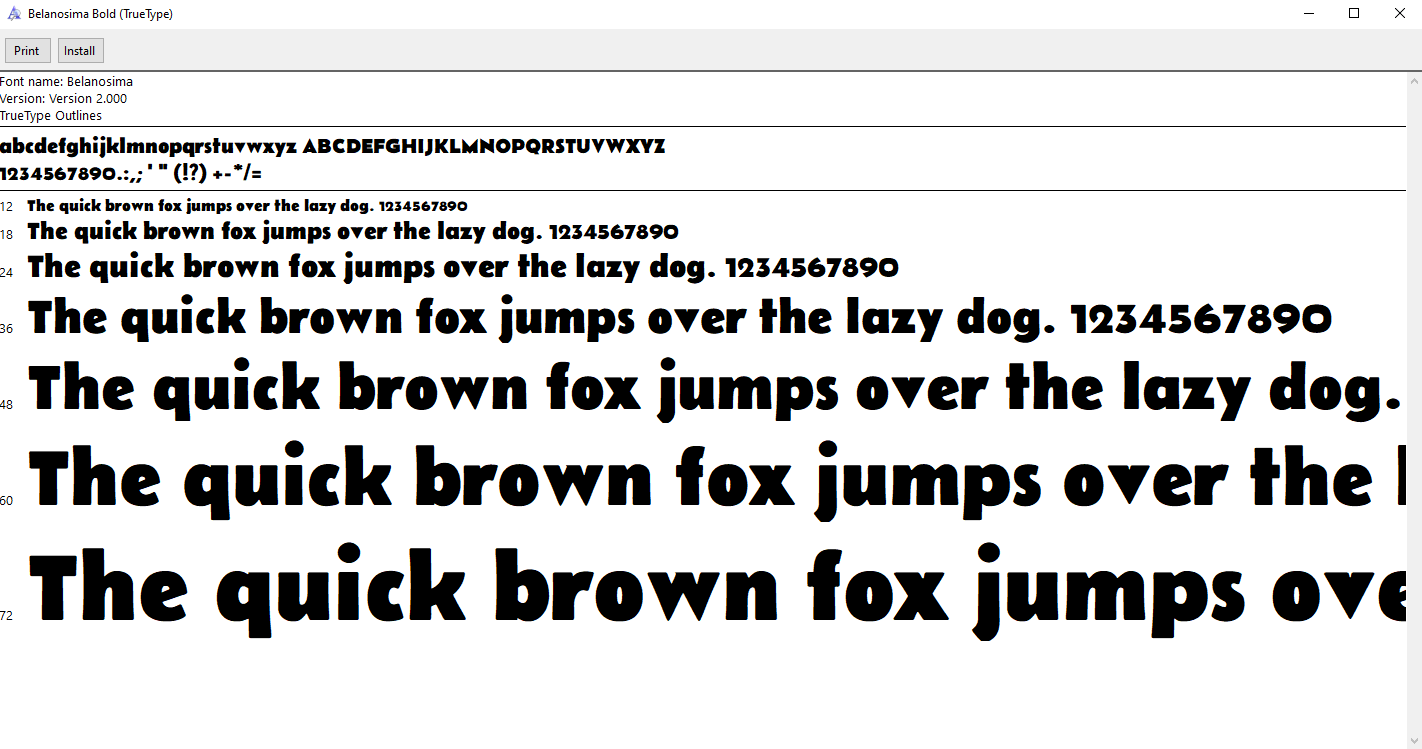
b) Double-click to install, or right-click on the font file and select "Install."
c) Windows will install the font and make it available in Adobe InDesign and other applications.

Or
Step 2: Install fonts on macOS
If you use a Windows computer to run the Adobe InDesign, then follow the below steps:
a) On MacOS, double-click the extracted font file.
b) Font Book, the default font management app on macOS, will open.
c) Click on "Install Font" to add the font to your system. It will become available in Adobe InDesign and other applications.
Step 3: Restart Adobe InDesign
After installing the fonts, it's essential to restart Adobe InDesign for the newly added fonts to appear in the application's font menu.
Learn to use Adobe InCopy effectively in tandem with InDesign for better collaboration between designers and writers with the Adobe InCopy Masterclass.
Method 2: Using Adobe Fonts
Adobe Fonts (formerly Typekit) is a valuable resource offering an extensive library of fonts directly integrated with Adobe Creative Cloud applications, including Adobe InDesign. Here's how to use Adobe Fonts:
Step 1: Access Adobe Fonts
a) Launch Adobe InDesign and go to the "Window" menu.
b) From the dropdown menu, select "Fonts" to open the "Fonts" panel.
c) In the "Fonts" panel, click on the "Add Fonts" button (the "+" icon) at the bottom.
Step 2: Browse and activate fonts
a) The Adobe Fonts website will open in your web browser.
b) Browse the vast collection of fonts and use the search bar or filter options to find specific styles or characteristics.
c) Click on a font to view its details, including weights and styles.
d) To activate a font, click the toggle switch next to it. The activated font will sync with Adobe InDesign.
Step 3: Sync Fonts in Adobe InDesign
a) After activating the desired fonts on the Adobe Fonts website, return to Adobe InDesign.
b) In the "Fonts" panel, click on the "Sync Fonts" button (the cloud icon).
c) InDesign will sync the activated fonts, making them available for your projects.
Note: Adobe Fonts requires an active Adobe Creative Cloud subscription and active internet connection for full access to the font library.
Unlock the full potential of your video editing skills with our Adobe Premiere Pro Masterclass course! Dive into the world of professional video production and learn the tricks of the trade.
Method 3: Installing fonts exclusively to Adobe InDesign
If you prefer to keep certain fonts limited to InDesign without installing them system-wide, this method allows you to achieve that. Follow these steps:
Step 1: Create a fonts folder
a) Start by creating a dedicated folder on your computer to store the fonts you want to add exclusively to Adobe InDesign.
b) Choose a location that is easily accessible, such as your Documents folder or a designated fonts folder.
Step 2: Download and extract fonts
a) Visit a reputable font website or source and download the desired font files (.ttf or .otf).
b) Extract the font files from the downloaded ZIP archive.
Step 3: Copy fonts to the fonts folder
a) Open the extracted font files and copy them to the dedicated fonts folder you created in Step 1.
b) Make sure to include all the font file variations (different weights, styles, etc.) if applicable.
Step 4: Activate fonts in Adobe InDesign
a) Launch Adobe InDesign and open the "Fonts" panel by going to the "Window" menu and selecting "Fonts."
b) In the "Fonts" panel, click on the menu icon at the top-right corner of the panel.
c) From the dropdown menu, choose "Add Fonts."
d) Navigate to the dedicated fonts folder you created in Step 1, select the font files, and click "Open."
e) Adobe InDesign will now recognise and activate the fonts, making them available within the application.
Step 5: Restart Adobe InDesign
To ensure that the newly added fonts are fully recognised and accessible in Adobe InDesign, it's essential to restart the application.
This method lets you keep certain fonts exclusive to Adobe InDesign without cluttering your system's font library. Remember to manage and organise the fonts within the dedicated folder to maintain a clear overview of the fonts available.
Learn all the Adobe suite of creative applications with our comprehensive Adobe Training courses.
Troubleshooting and tips for using and adding fonts in Adobe InDesign
This section will address common font-related issues you might encounter while working with Adobe InDesign and provide helpful tips for solving the problem.
Missing fonts
a) If you open an Adobe InDesign document that uses fonts not installed on your system or not activated in Adobe Fonts, you may encounter missing font warnings.
b) To resolve this, ensure you have the required ones installed or activate them in Adobe Fonts.
c) If you're sharing documents with others, make sure to outline fonts or provide font files to maintain consistency.
Font conflicts
a) Occasionally, conflicts between fonts can lead to unexpected results in your designs.
b) If you experience font-related issues, try disabling conflicting fonts or using alternative fonts.
c) You can manage them using font management tools to organise and resolve conflicts effectively.
Font substitution
a) When a required font is unavailable, Adobe InDesign may substitute it with a similar font, potentially affecting the design's appearance.
b) Ensure that all necessary fonts are installed or activated in Adobe Fonts before opening a document to avoid font substitution.
Take your motion graphics to new heights with our Adobe After Effects Masterclass course! Discover the secrets behind stunning visual effects and animations.
Best practices for font usage
Organising font libraries
a) Keeping your font collection organised for easy access is essential as your font collection grows.
b) Use font management software or create folders on your computer to categorise fonts based on their characteristics or project types.
Licensing and font usage rights
a) Respect the font licensing agreements and ensure you have the appropriate licenses for your fonts, especially for commercial projects.
b) Some fonts have restrictions on embedding or distribution, so be aware of the terms and conditions associated with each font.
Master Photoshop with the Adobe Photoshop Masterclass comprehensive course and take your creative skills to the next level.
Conclusion
Adding fonts to InDesign opens up a world of creative possibilities, allowing you to bring your designs to life with unique typography. Following the methods outlined in this guide, you can easily add fonts to InDesign and ensure seamless integration into your projects. Now that you know How to Add Fonts to Adobe InDesign feel free to explore different reputable sources for downloading fonts. If you face any issues adding fonts in InDesign, you can use the troubleshooting tips in the blog to resolve them.
Learn to create stunning page layouts for flyers, webpages and many others with Adobe InDesign Masterclass.
Frequently Asked Questions

To make the newly added font available, copy the font files to the Fonts folder inside the InDesign application folder. You can find the Adobe InDesign Fonts folder by default here:
C:Program FilesCommon FilesAdobeFonts.

When a font is missing, InDesign automatically replaces it with a similar font. However, if you want to replace it with your option, you can replace it with the Find/Replace Font command from the Type menu.
If you open an InDesign file with fonts missing, a dialogue box will pop up about the missing fonts. Clicking Replace fonts on the dialogue box will take you to the Find/Replace command.

Find the Eyedropper tool in the toolbox. In the Eyedropper Options dialogue box, select Paragraph Settings or Character Settings. Select the font or text attribute you want to copy and click OK.
Upcoming Office Applications Resources Batches & Dates
Date
 Photoshop Course
Wed 26th Jun 2024
Wed 18th Sep 2024
Wed 30th Oct 2024
Wed 27th Nov 2024


 Top Rated Course


 If you wish to make any changes to your course, please


