


We may not have the course you’re looking for. If you enquire or give us a call on 01344203999 and speak to our training experts, we may still be able to help with your training requirements.
Adobe Photoshop Selection Tools: A Complete Beginner's Guide
ByThe Knowledge AcademyLast updated on: 13 November 2026
Learn how Photoshop selection tools isolate shapes, colours and objects for precise edits, with practical guidance on choosing the right tool, refining edges and creating accurate selections.
Key Learnings
1. Photoshop provides selection tools for geometric shapes, irregular edges, colours and objects.2. Marquee and Lasso tools provide manual control for simple and irregular selections.3. The right tool depends on an area's shape, colour, contrast and edge complexity.4. Refining edges, adjusting tool settings and combining selection methods can improve selection accuracy.
Have you ever tried to change the colour of an object in Photoshop, only to alter the background by mistake? A quick edit can become a frustrating cycle of undoing changes and fixing uneven edges.
The problem grows when the object has curves, fine details or a busy background. A selection tool that works well for a rectangle may struggle with hair or irregular shapes. You can end up selecting areas you meant to protect or missing parts you wanted to edit.
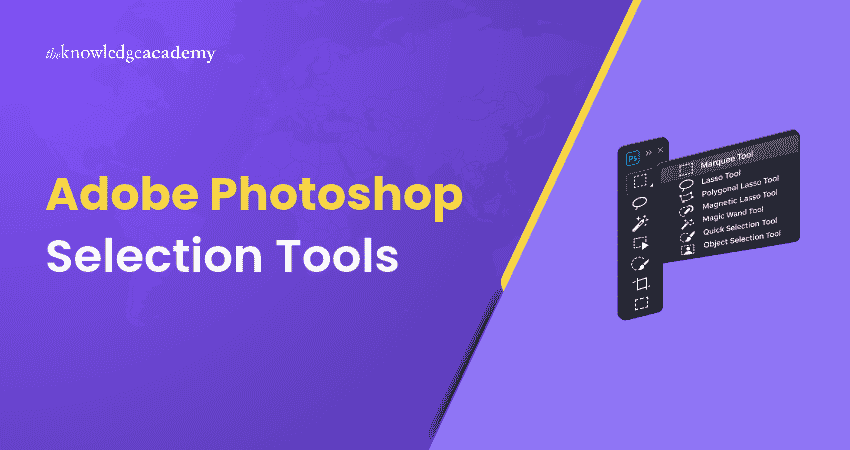
This is where choosing the right selection tool in Adobe Photoshop makes a difference. From Marquee and Lasso to Magic Wand and Object Selection, each serves a different purpose. In this blog, we’ll explain the essential tools, show when to use them and share practical ways to improve selection accuracy.
Essential Photoshop Selection Tools
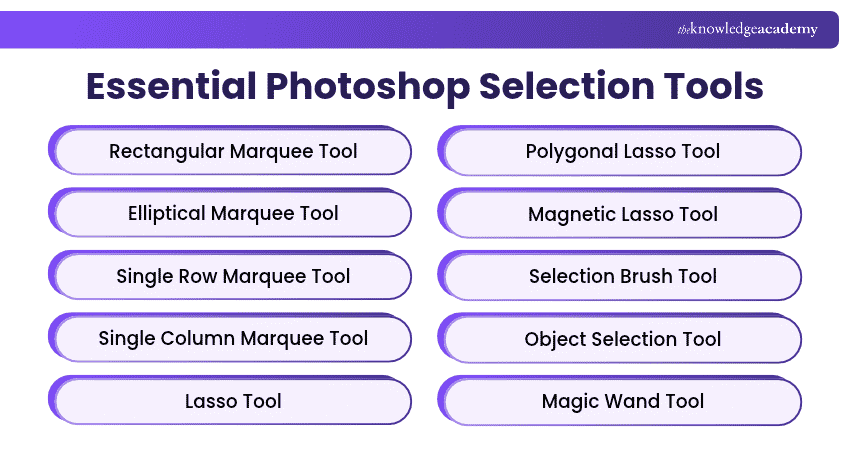
Selection tools isolate parts of an image for precise editing. Photoshop for desktop offers tools for geometric shapes, freehand and brush-based selections, edge detection, colour-based selection and automatic object detection. Each works best for different editing needs.
1) Rectangular Marquee Tool
The Rectangular Marquee Tool creates rectangular or square selections with straight edges. Select it from the toolbar or press M, then click and drag over the area; hold Shift while dragging to make a square.
It works well for selecting rectangular signs, photo sections or interface elements before applying an adjustment or copying them. For curved or irregular edges, choose another tool.

2) Elliptical Marquee Tool
The Elliptical Marquee Tool selects circular and oval areas. Find it under the Marquee tool group, then drag to draw an ellipse; hold Shift for a perfect circle.
It is useful for isolating round objects, creating selections for circular layer masks or applying effects within curved boundaries. Because the outline follows a fixed ellipse, it is not ideal for irregular shapes.
3) Single Row Marquee Tool
The Single Row Marquee Tool selects a horizontal strip that is one pixel high. Open the Marquee tool group and click at the required position to select the row across the image.
It is mainly useful for very precise pixel-level edits, such as working with a thin horizontal line or examining a row of pixels. It is too narrow for ordinary object selections.
4) Single Column Marquee Tool
The Single Column Marquee Tool selects a vertical strip that is one pixel wide. Choose it from the Marquee tool group and click where you want the column to run.
Use it for pixel-level adjustments to narrow vertical details or for inspecting a precise column in an image. Like the Single Row tool, it is a specialist option rather than a general-purpose tool for selecting objects.
5) Lasso Tool
The Lasso Tool lets you draw a freehand selection around an area. Select it from the toolbar or press L, then drag around the subject and release to close the outline.
Use it for quick, approximate selections of irregular objects or for adding small areas to an existing selection. Its accuracy depends on how steadily you trace the boundary, so detailed edges often need further refinement.
6) Polygonal Lasso Tool
The Polygonal Lasso Tool builds selections from connected straight-line segments. Choose it from the Lasso tool group, click to place points along an object's edges and close the outline at the starting point.
It is best for buildings, boxes, signs and other subjects with sharp corners. Smooth curves require more points, making this tool less convenient for rounded shapes.
Pro Tip
Zoom in when placing points with the Polygonal Lasso Tool. Using shorter segments around detailed edges gives you greater control and makes the final selection easier to refine.
7) Magnetic Lasso Tool
The Magnetic Lasso Tool helps trace a subject by snapping the selection border towards visible edges. Choose it from the Lasso group, click to start, and move the pointer around the boundary, adding points manually where needed.
It works well when an object stands out clearly from its background, such as a dark product against a pale surface. Low-contrast or cluttered edges can make the outline less reliable.
8) Selection Brush Tool
The Selection Brush Tool lets you paint or draw over areas you want to select, displaying the selection as a coloured overlay. Choose it from the Lasso tool group, then adjust Size, Hardness and Opacity and use Add or Subtract brush modes to refine the result.
It is useful when an area is easier to paint over than trace precisely. Unlike most selection tools, it displays a coloured overlay rather than marching ants until you switch to another tool.
9) Object Selection Tool
The Object Selection Tool uses automatic detection to identify objects in an image. Choose it from the toolbar, then hover over a detected object with Object Finder enabled, or draw a rectangle or lasso around the one you want.
It is useful for isolating people, products or other distinct subjects without tracing every edge manually. Photoshop also provides Select People options for selecting details such as hair or clothing; check the result and refine difficult edges when necessary.
10) Magic Wand Tool
The Magic Wand Tool selects pixels with similar colours based on where you click. Choose the tool, adjust Tolerance in the options bar, and click the colour you want to select; Contiguous limits the selection to connected areas when enabled.
It is useful for plain backgrounds, flat-colour graphics and areas with consistent tones. It can include unwanted pixels when the subject and background share similar colours.
Quick Check
Which Magic Wand setting controls how similar selected colours need to be?
A. FeatherB. ToleranceC. Brush SizeD. OpacityAnswer: B. Tolerance
11) Quick Selection Tool
The Quick Selection Tool builds a selection as you brush over an area, using image boundaries to help follow its edges. Choose it from the toolbar, adjust the brush size and paint over the subject; use Add to Selection or Subtract from Selection to correct the result.
It works well for objects with reasonably clear boundaries, including clothing, plants or products. For hair or complicated backgrounds, finish with Select and Mask.
Improve your image-editing accuracy and master selection techniques with our Adobe Illustrator Training - Sign up today!
How to Choose the Right Photoshop Selection Tool
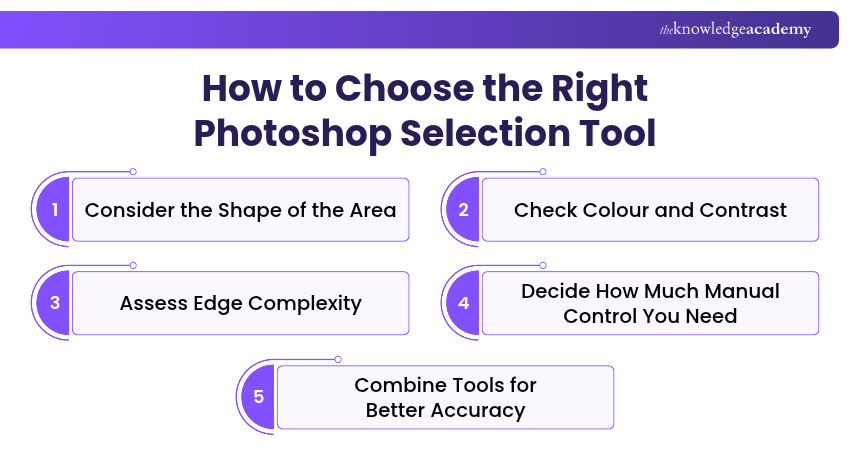
Choosing the right Photoshop selection tool depends on the area's shape, colour, contrast and edge complexity. Here are five factors to consider:
1) Consider the Shape of the Area
Use Marquee tools for rectangular or circular areas, the Polygonal Lasso Tool for straight edges and the Lasso Tool for irregular shapes.
2) Check Colour and Contrast
The Magic Wand Tool selects areas with similar colours, while the Magnetic Lasso Tool works best with clearly contrasting edges.
3) Assess Edge Complexity
For detailed subjects such as hair or plants, try the Object Selection Tool or Quick Selection Tool. Use Select and Mask to refine difficult edges.
4) Decide How Much Manual Control You Need
The Selection Brush Tool lets you paint over areas manually, while the Object Selection Tool automatically detects subjects.
5) Combine Tools for Better Accuracy
Start with the Object Selection Tool, use the Quick Selection Tool to correct missed areas and refine the edges with Select and Mask when needed.
Remember
When possible, turn a precise selection into a layer mask instead of permanently deleting pixels. This keeps the edit flexible and makes later refinements easier.
Adobe Photoshop selection tools give you different ways to isolate and edit specific areas of an image with greater control. Understanding how each tool responds to shapes, colours and edges makes it easier to choose an effective approach and refine selections for cleaner, more precise edits.
Build your creative and digital design skills across Photoshop, Illustrator and other Adobe tools with our Adobe Courses - Register today!

The Knowledge Academy develops accessible learning content across Project Management, IT, Cybersecurity, Data Science, Business Analysis, HR, Accounting and Finance, Leadership and Health and Safety. Its resources combine subject research with clear explanations to help professionals build practical knowledge across a wide range of disciplines.
View Detail

 If you wish to make any changes to your course, please


